
Agents in 15 Minutes
If you have built an API, called a backend service, or written a short JavaScript automation script, you already have a useful starting point for understanding agents.
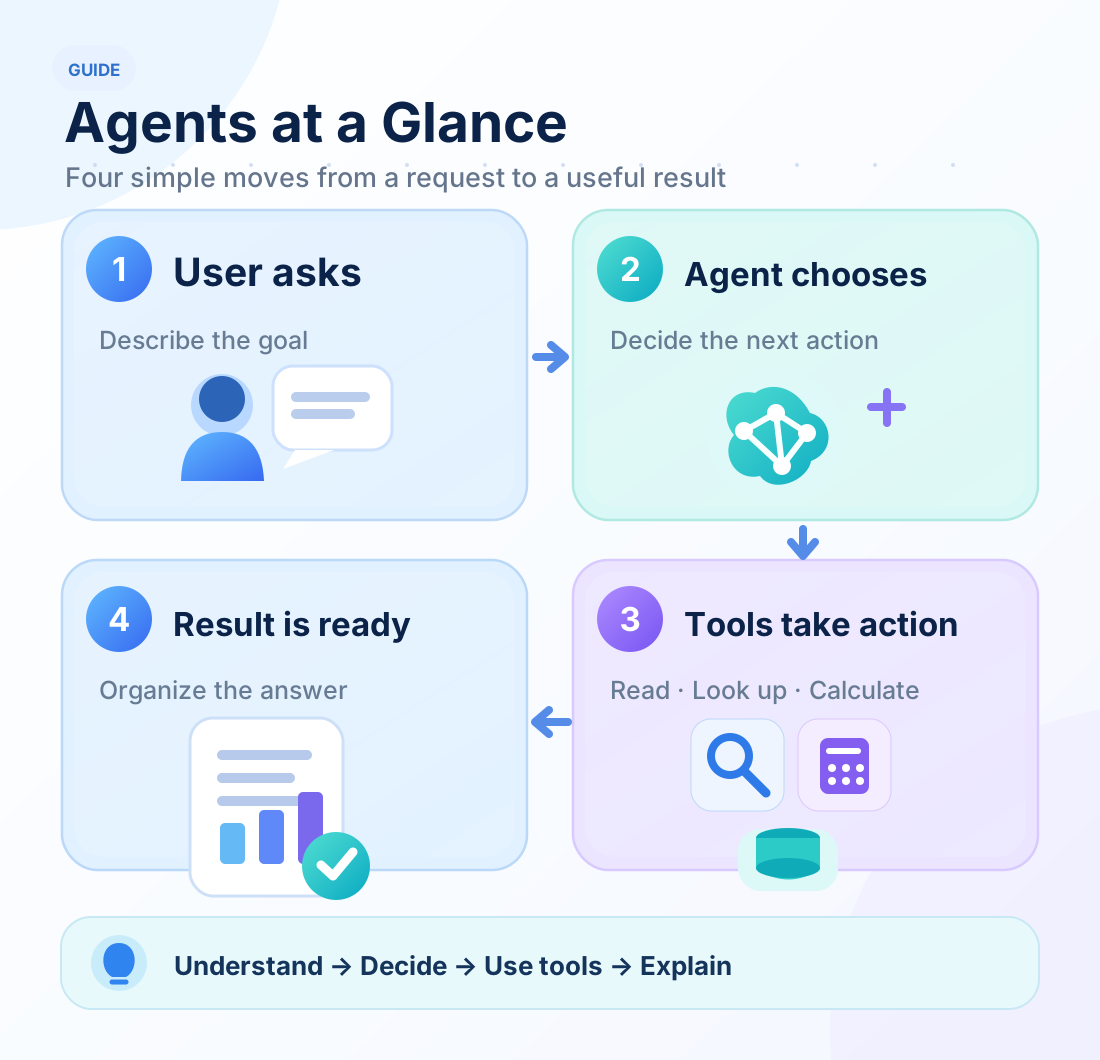
Think of an agent as an assistant that keeps a task moving: it understands the goal, chooses a next step, uses tools, and continues with the information it receives.
Follow one example, three diagrams, and a walkthrough of the Agent Loop to see how that works.
Six-layer capability map: the smallest runnable path
This map uses the panorama's six horizontal stages and vertical capability groups, but shows only modules used by the beginner example. Select a colored solid chip to inspect the pinned v0.15 source. L5 means writing report.md and L6 means reopening it through the CLI; neither implies a complete online Publication system, a Web interface, or all panorama capabilities.
Follow the path: start T1 → project Context → Gateway/Runtime loop → Tool Host reads A/B → save and reopen the report. The default model actions are scripted.
A familiar task: compare two documents
Imagine receiving this request:
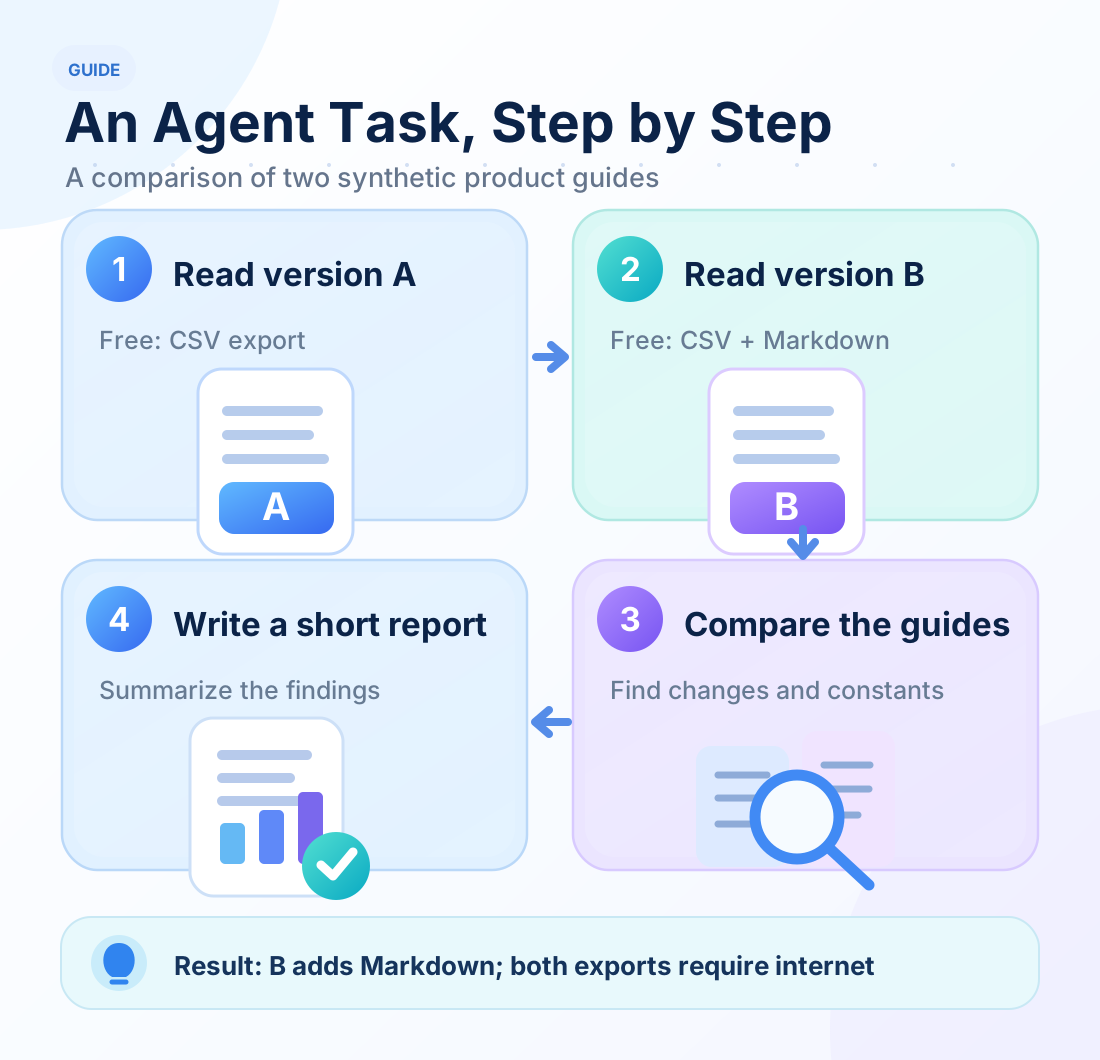
"Compare product guides A and B. Which export formats are available in the free edition, and what restrictions do they share?"
This is a synthetic teaching example from Open ETF Agent. The fictional product is called Atlas Notes. The documents contain three facts:
- Version A: the free edition exports CSV.
- Version B: the free edition exports CSV and Markdown.
- Both versions: exporting requires an internet connection.
You would probably read guide A, then guide B, and summarize what changed and what stayed the same. The example agent follows the same outline.
A useful result looks like this:
Version B adds Markdown export alongside CSV. Both free editions require an internet connection to export.
Even this small example includes the essential steps: understand the request, read information, organize it, and produce a result.
Who does what inside an agent?
Start with just three roles.
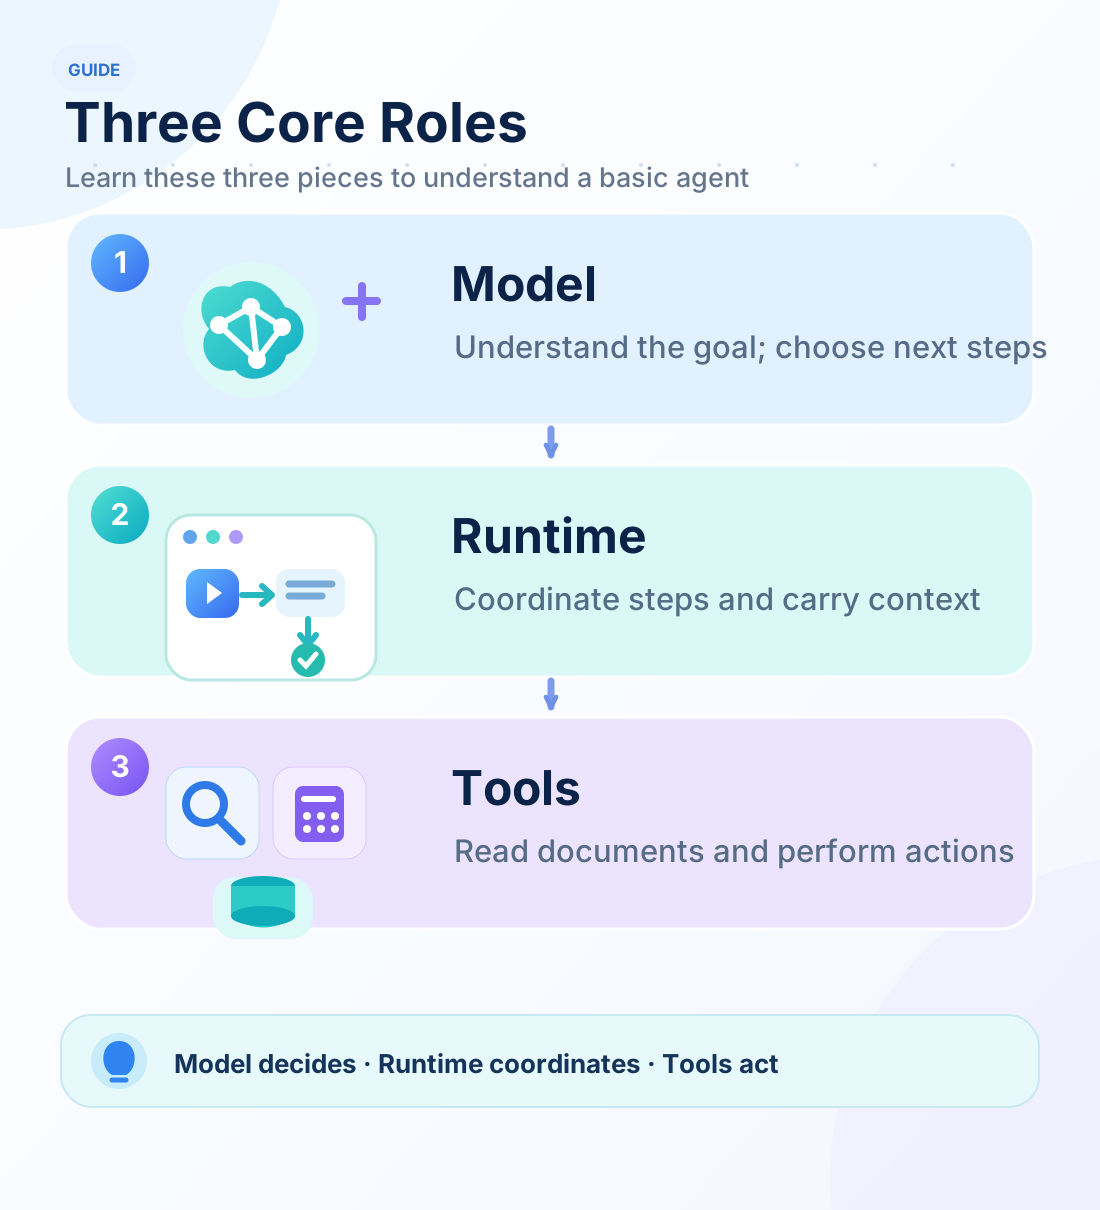
The model understands the request and chooses what to do next. It might read a document first and organize an answer once it has the relevant material.
The runtime connects the steps. It gathers the question, available information, and tool results into the context for the next model turn, allowing the agent to continue its work.
The tools perform concrete operations. File reading, database queries, API calls, and calculations can all be exposed as functions with inputs and outputs.
Walk through the loop: AI chooses each next step
After a tool runs, its result goes back to the AI. The AI uses that result to choose another tool action or answer the user. Repeating this process gives us the Agent Loop.
Here is one possible teaching walkthrough of the same comparison with a model choosing the actions:
| Turn | What the AI chooses | Outcome of this turn |
|---|---|---|
| 1 | Read guide A first | Tool result: A exports CSV and requires an internet connection |
| 2 | Read B now that A is known, so the guides can be compared | Tool result: B exports CSV and Markdown and requires an internet connection |
| 3 | Both guides are available; summarize the comparison and answer | AI answer: B adds Markdown; both versions require an internet connection |
The first tool result enters the second turn's context, and the second result enters the third. Each model call can make a fresh decision using what has already been learned. These turns belong to one user request; the user does not need to prompt each step.
Remember one cycle as AI chooses an action → tool executes → result goes back to AI. The AI then chooses what to do next or finishes with an answer. The runtime drives the loop and manages tool permissions and execution limits.
A few lines of JavaScript-style teaching pseudocode show the division of work:
while (withinLimits()) {
  const step = await model.decide(context, tools);
  if (step.type === "answer") return step.text;
  const result = await runAllowedTool(step);
  context.push(step, result);
}model.decide stands for asking the AI to choose its next step. context.push supplies the action and result to the next turn. Helper functions and message formats are simplified here.
How does this differ from a traditional program?
For a traditional comparison script, you might arrange the steps as read A → read B → compare → output. Developers encode its loops, branches, and stopping rules. Even when the comparison step calls an AI model, the overall route can still be predefined.
An agent delegates some task-level choices to the AI: which document to read, which tool to call, whether to continue, and when to answer can depend on the latest result. Developers supply the goal, available tools, and operating constraints. This is also the key distinction between workflows and agents in Anthropic's Building effective agents.
Imagine a small change: guide B says, "See the appendix for export formats." The AI can choose to read the appendix next, then return to the comparison. A traditional script can do this too, with a corresponding rule written by its developer.
Ordinary code is straightforward when steps are clear and rules are stable. Agents are especially useful when reading new material helps determine what to do next.
Try the example in five minutes
The document comparison can be run locally using Open ETF Agent v0.15. With Node.js 26.8.1–26.x installed, run:
git clone https://github.com/hpoenixf/open-etf-agent.git
cd open-etf-agent
git checkout v0.15.0
npm ci --ignore-scripts --no-audit --no-fund
npm run build
npm run demo -- --case T1The command reports the directory for the run. Open report.md inside that directory to see the comparison and its sources.
The default example uses a scripted model-action sequence, so no model API key is needed. You can explore the tool execution process locally. When you later connect a live model, the same idea of choosing steps, using tools, and consuming results remains central.
Next, trace where the model input comes from
You now have a useful mental model: the user sets a goal, AI chooses the next step from each result, the runtime drives the loop, and tools perform the actions.
Read Prompt, Context, RAG and Memory first to distinguish requirements, original text and lasting preferences in the same comparison. Then Ten Core Modules connects those capabilities to working code.
The eight steps are Introduction → Input and knowledge → Intermediate → Tools and methods → Memory and continuity → Deep dive → Workshop → Panorama. The three concept guides explain information, actions and continuity. After Deep Dive, use the Workshop with your own documents, then return to the full architecture.
You have already met three movements of the six-layer responsibility map: L1 accepts the task, L3 decides the next action, and L4 uses tools. L4 means “tools and domain capabilities”: tools actually read, calculate, or save after the model proposes an action; an answer alone cannot establish that it happened. Intermediate adds ownership and context (L2); Deep Dive follows how results are saved and actually delivered (L5/L6). You do not need to memorize the numbers yet—just keep following the task.
Open ETF Agent source and examples · 中文版 · Engineering notes on GitHub (stars welcome)
Getting started: continue in order
Next: Prompt, Context, RAG and Memory — Where Does the Model Input Come From?.